Flooring and internal finishes · 20 MINUTE CPD
Screed Readiness: Moisture Testing Before Floor Finishes
Separate a floor that is hard enough to walk on from a substrate that is ready for its specified adhesive and finish.


Separate a floor that is hard enough to walk on from a substrate that is ready for its specified adhesive and finish.
Your 20-minute activity: allow 10 minutes for the article and illustrations, five minutes for the site scenario and five minutes for reflection. Record your actual learning time.
Regulatory references are for England. Use the editions and transition arrangements applicable to the project. Manufacturer examples apply to the named systems. The practical inspection exercises are ACQP teaching applications, not installation instructions.
1. Define what “ready” means for this floor
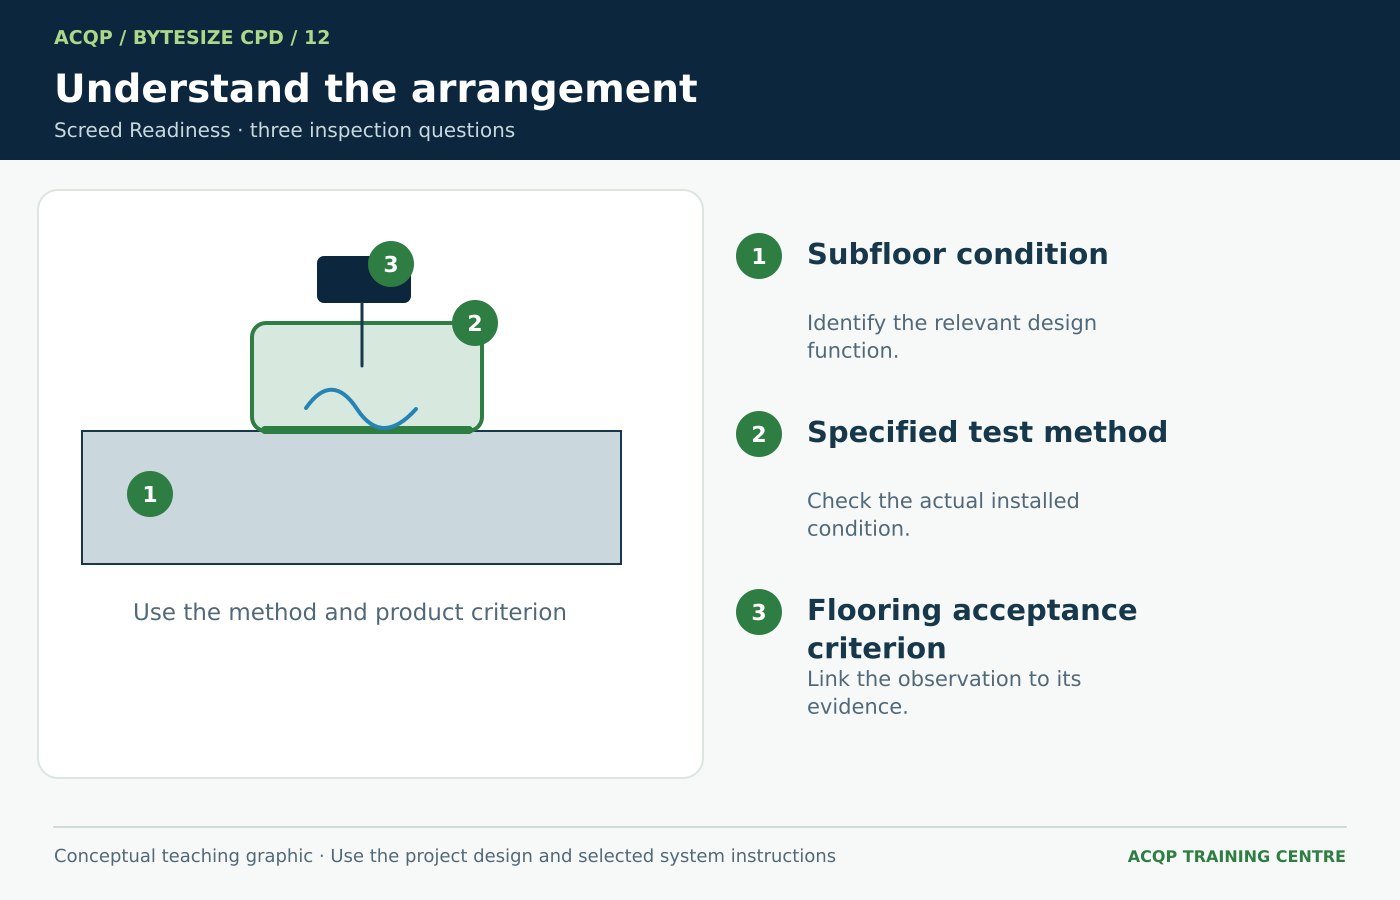
A screed may be firm and apparently dry at the surface while moisture remains within it. The acceptance question belongs to the complete flooring arrangement: substrate, preparation products, moisture-control treatment where specified, adhesive and floor finish. Identify those products before deciding which criterion applies.
Start with the room or zone, screed type, thickness information and installation date. Ask which manufacturer’s instructions define substrate readiness and which party authorises installation. Keep moisture readiness separate from strength, surface condition and level requirements. A programme date or the fact that other trades have walked over the floor is not a substitute for those checks.
2. Understand the measurement being taken
F. Ball explains that its digital hygrometer measures the relative humidity of a small enclosed volume of air in equilibrium with the subfloor and isolated from the surrounding room air. That is a different measurement from simply recording the room’s ambient humidity.
F. Ball: Digital hygrometer measurement principle
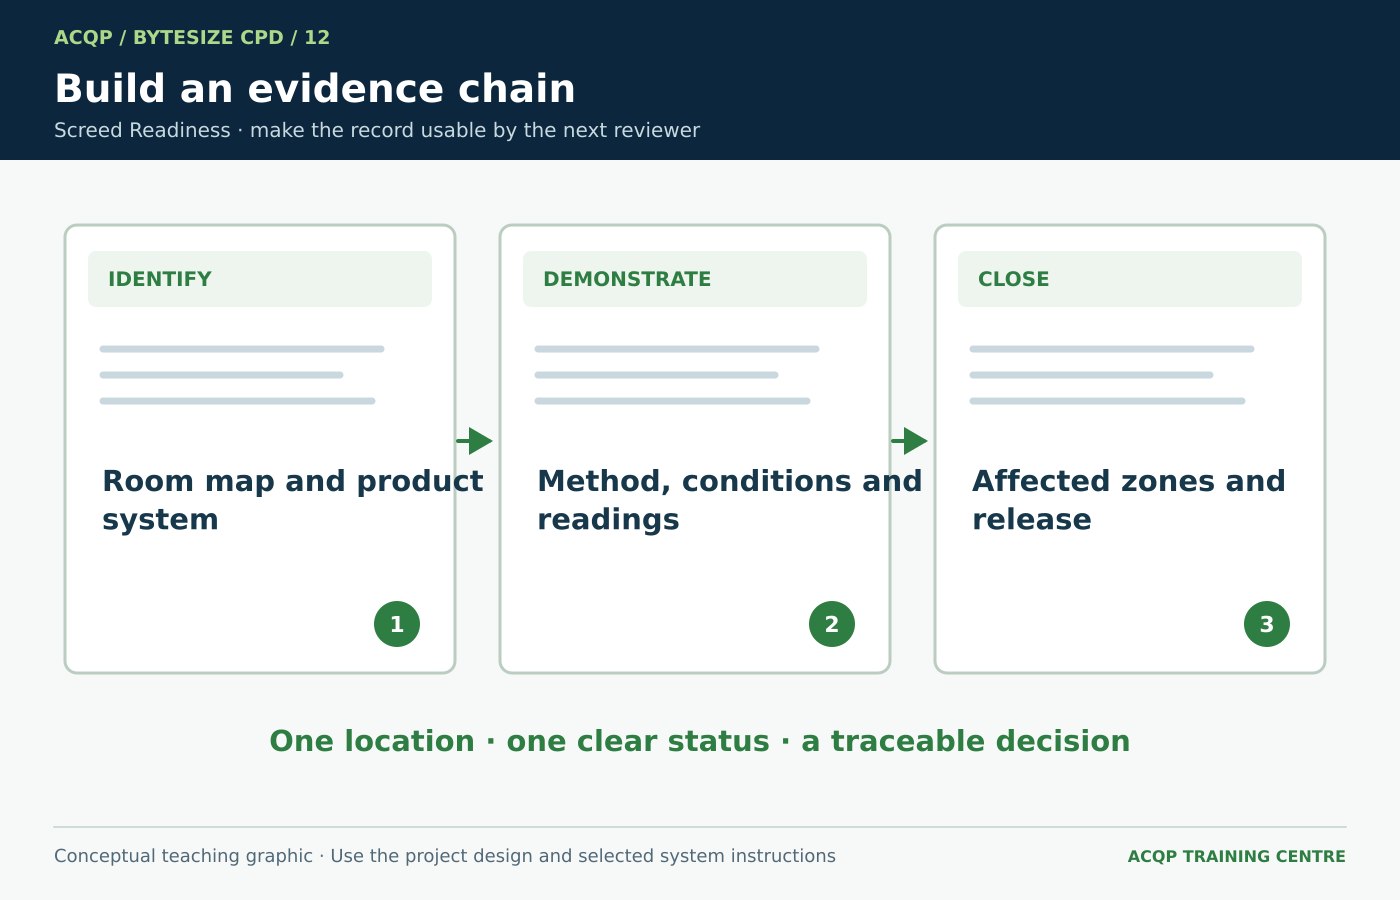
Identify the equipment and method, the floor locations and the conditions required by its instructions. Ask whether the readings have stabilised as specified. Record the date and relevant environmental information. Avoid mixing values from different methods as if their numbers were directly interchangeable, and do not invent a conversion between a meter scale and a flooring acceptance limit.
3. Use the selected system’s criterion
Tarkett’s carpet installation guidance gives a humidity criterion for the concrete subfloor condition it describes. That is a manufacturer example, not a universal limit for every screed, adhesive, resilient finish, timber floor or moisture-control product.
Tarkett: Carpet installation and subfloor conditions
Write the actual criterion and its source alongside the test result. Where the flooring specification is incomplete or products have changed, obtain a coordinated technical response before installation. If a moisture-control treatment is proposed, confirm its suitability for the substrate and the whole product build-up. A treatment name alone does not explain its permitted conditions or preparation requirements.
4. Account for local differences and heating
F. Ball’s hygrometer instructions describe method-specific conditions and the need to allow readings to reach equilibrium. The test must be interpreted within those conditions, not shortened simply to match the flooring programme.
F. Ball: Digital Hygrometer technical data sheet, April 2024
Map the test locations so local repairs, thicker areas and zones affected by water can be recognised. Where underfloor heating is present, follow the screed, heating and flooring instructions for commissioning and the required conditions during testing. Keep heating records distinct from moisture results: having run the system does not itself establish that the selected floor covering can now be installed.
5. Recheck when the condition changes
A valid record describes the tested floor at the time and under the conditions stated. A later leak, wet trade, repair or change in build-up can create a new question. The earlier result should remain in the file, but its limits need to be understood.
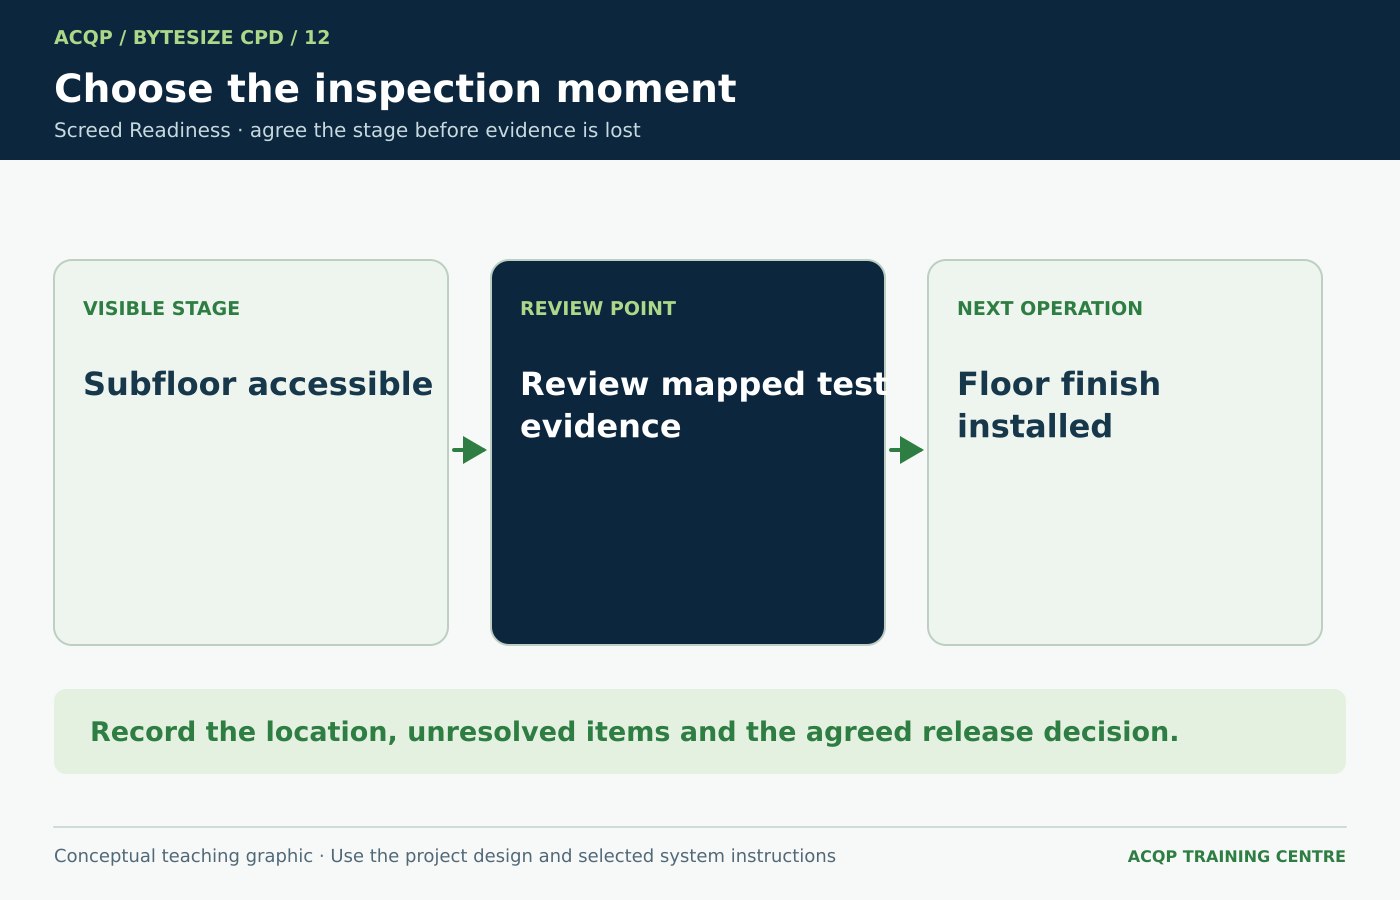
Record the affected zone and obtain the flooring specialist’s assessment of any drying, preparation or retesting needed. Do not average an unacceptable local result away using drier readings from elsewhere. The release record should identify the accepted areas, any exclusions and the products to be installed. Keep the final readings and technical decisions available for handover and any later investigation.
Site scenario
A corridor screed has an acceptable recorded result for the specified finish. A leak then wets one end, and a local repair is made near a doorway. The contractor proposes using the earlier result for the entire corridor.
Pause and consider: Which parts of the earlier evidence remain relevant, and what should be reviewed before the changed areas are covered?
Suggested response: Retain the earlier result with its locations and date, identify the wetted and repaired zones, and obtain the flooring specialist’s plan for drying, preparation and appropriate testing. Confirm the current product requirements and record the release area precisely. Do not describe the changed zones as ready merely because another part of the corridor was previously acceptable.
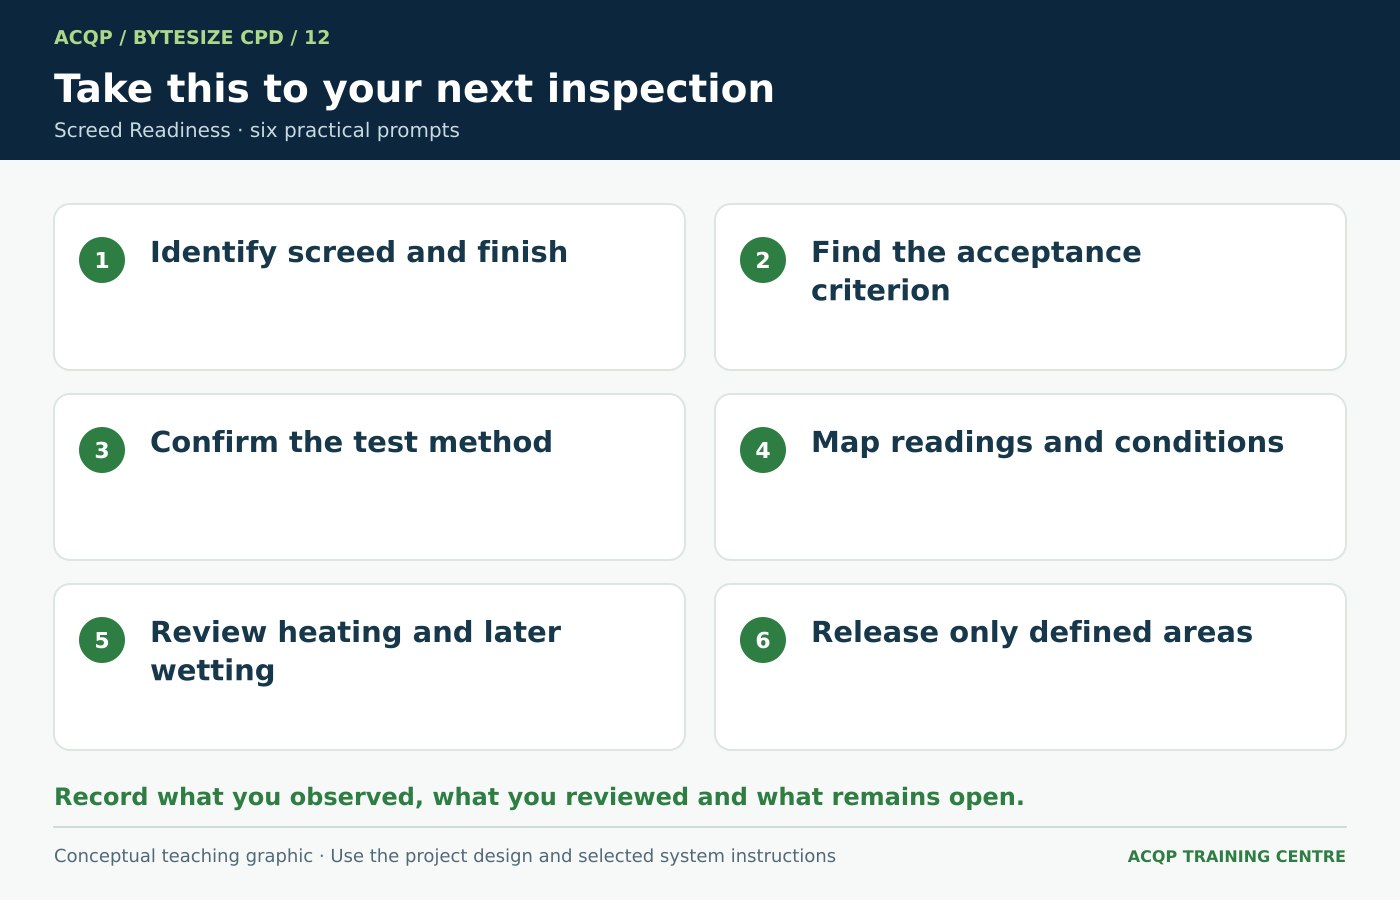
Take this to your next inspection
Attach the applicable flooring moisture criterion to one location-mapped test record before release.