Windows and building envelope · 20 MINUTE CPD
Window Perimeters: Support, Sealing and Continuity
Look beyond a neat internal trim to the structural support, weather seal, insulation and airtight connection around a window.


Look beyond a neat internal trim to the structural support, weather seal, insulation and airtight connection around a window.
Your 20-minute activity: allow 10 minutes for the article and illustrations, five minutes for the site scenario and five minutes for reflection. Record your actual learning time.
Regulatory references are for England. Use the editions and transition arrangements applicable to the project. Manufacturer examples apply to the named systems. The practical inspection exercises are ACQP teaching applications, not installation instructions.
1. Inspect the interface, not just the window
A factory-made window still has to connect to the building. illbruck’s window guidance describes the perimeter as an important part of the installed result. The opening, frame and surrounding wall need a coordinated detail rather than separate assumptions by each trade.
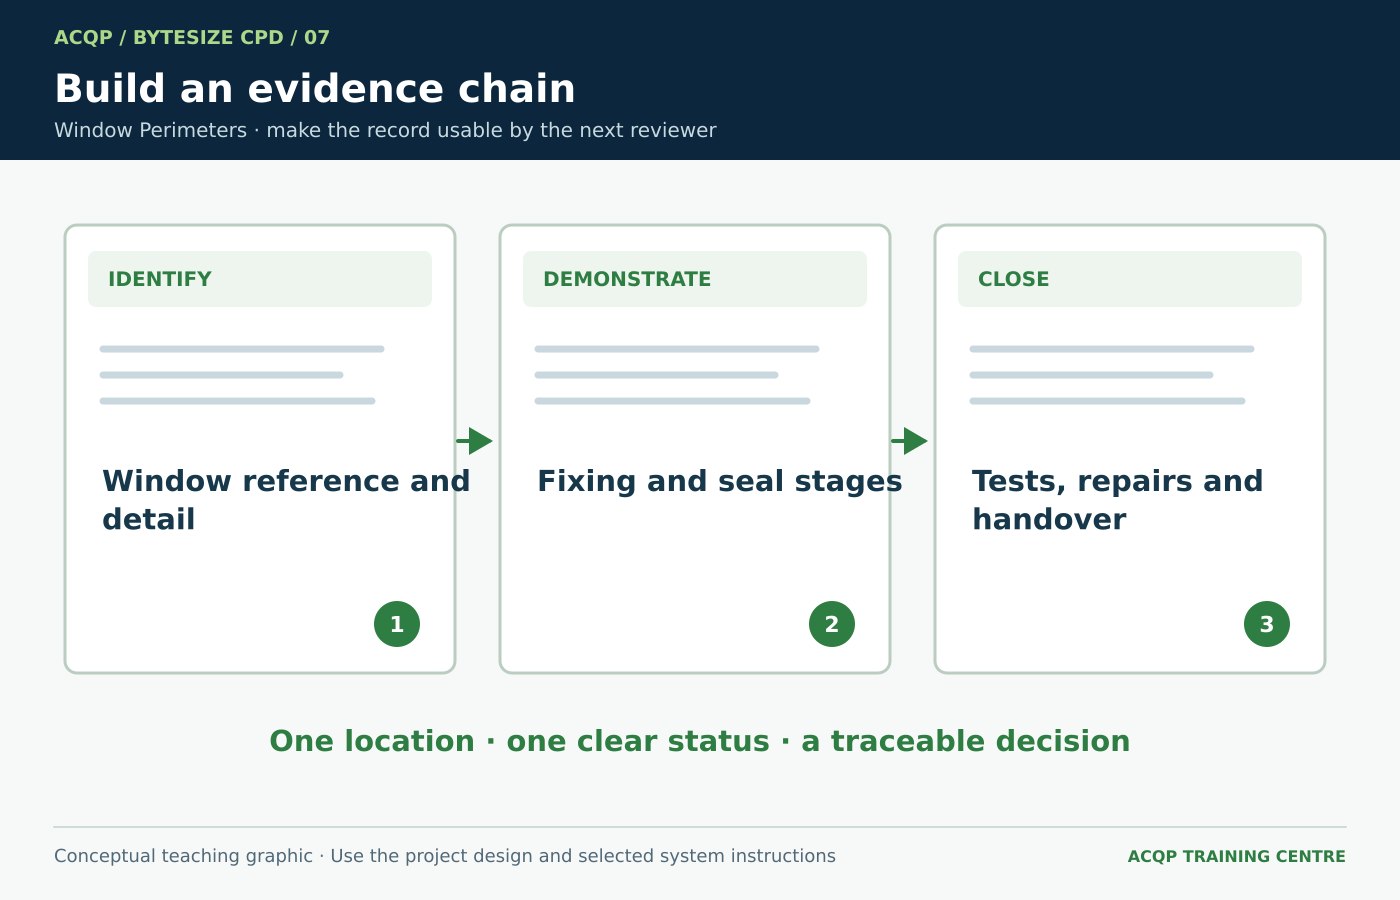
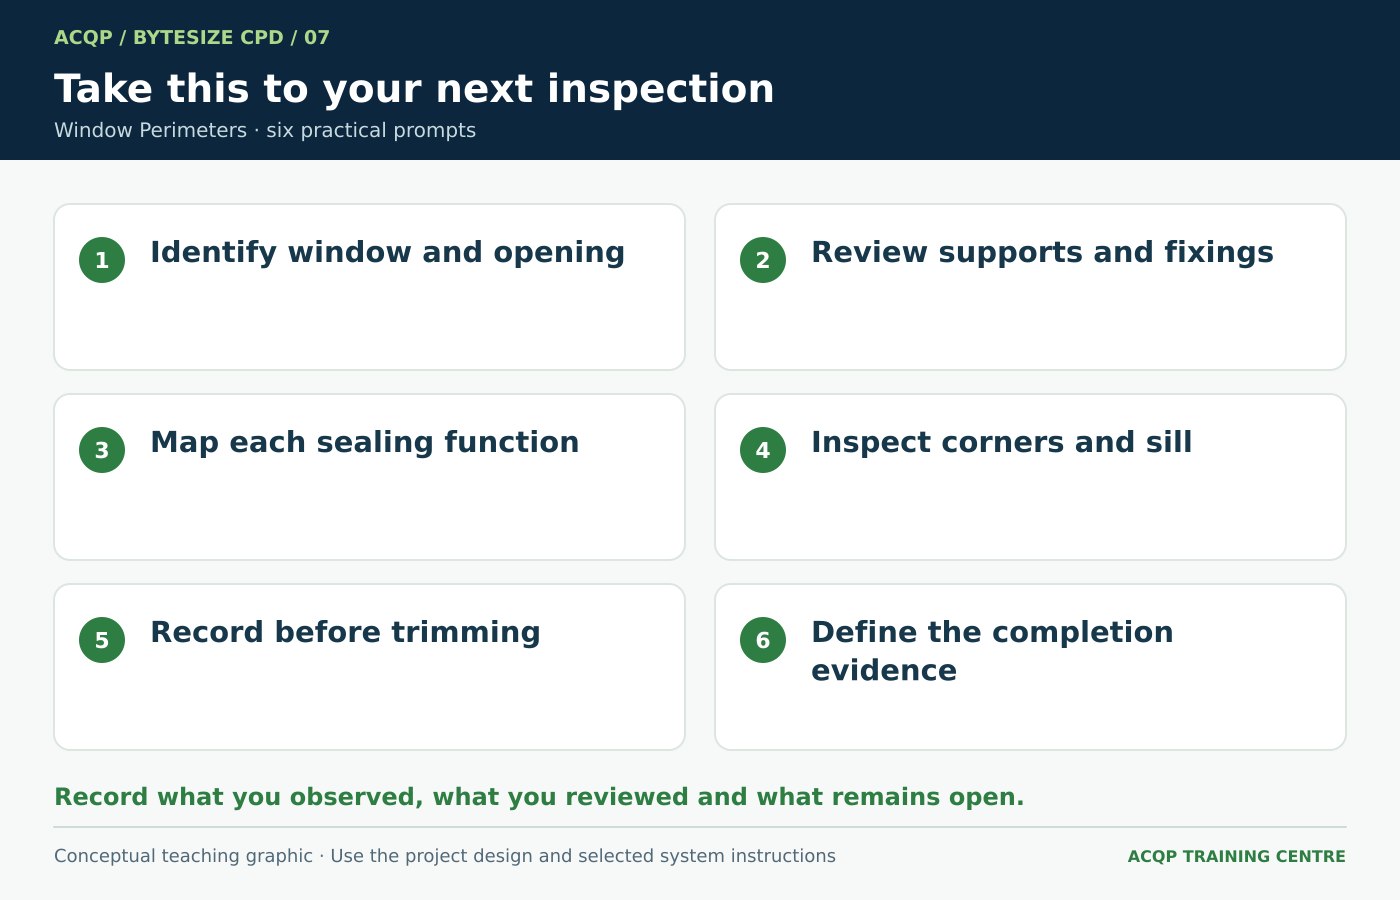
Identify the window reference, opening type and drawing revision. Compare the frame position and actual substrate with the detail. Ask which trade is responsible for each interface and when it will be visible. A window schedule helps identify the unit, but it may not contain the fixing, sill, membrane and internal lining details needed for the installation review.
2. Keep support and sealing questions separate
A visible bead or foam-filled gap does not explain the frame’s load path. Fixings, support and packing should be assessed against the window system’s installation instructions and the project design. The inspection should not infer structural adequacy from a tidy perimeter.
Before trims are fitted, identify the specified supports and fixing locations and request evidence for any concealed work. Record damaged substrates or departures for technical review. If an alternative fixing or packing arrangement is proposed, ask for its authorised basis. Avoid applying one manufacturer’s spacing or fixing type to another system, particularly where the supporting wall construction differs.
3. Understand the sealing functions
As one manufacturer example, illbruck’s i3 arrangement separates external weather protection, an insulating middle zone and internal airtightness. This explains why filling a gap does not automatically demonstrate every required performance. Other systems must be reviewed using their own approved details.
illbruck: Understanding the i3 sealing system
For the actual project, identify which material performs each function and how it connects to the adjoining construction. Check the compatibility and preparation requirements in the selected product information. Do not assume a material is a fire-resisting seal merely because it is used around a window; any required fire performance needs its own applicable evidence and coordinated detail.
4. Give corners and sills their own inspection
illbruck’s brick-and-block guidance describes perimeter products working with cavity closers and sill details. The transition between materials can be more demanding than the straight length of a jamb. A complete inspection follows the continuity of the selected arrangement.
illbruck: Brick and block window interfaces
Look at the head-to-jamb and jamb-to-sill changes before they are hidden. Ask how a wrinkle, discontinuity, loose edge or interrupted seal will be resolved under the system instructions. Record all four sides with a clear window reference. Where an internal lining will make the work inaccessible, agree the inspection point in advance instead of relying on a final photograph of the trim.
5. Be precise about completion evidence
An opening-and-closing check is useful evidence of operation at that time. It does not by itself prove concealed fixings, airtightness or resistance to water penetration. Different performance questions may need different checks or specified tests.
List what was actually observed and what records were reviewed. Link any agreed test to the identified window and relevant conditions. If work changes afterwards, consider which evidence needs updating. At handover, retain product information, operation and maintenance guidance and the resolved interface records, so a later leak investigation can start with an intelligible account of the installation.
Site scenario
A window operates smoothly and the internal trim looks neat. The installer offers a photograph taken after trimming as evidence that the internal airtight seal is complete. No earlier corner photographs are available.
Pause and consider: What does the final photograph demonstrate, and how should the missing seal evidence be addressed?
Suggested response: Record the visible finish and operational result without extending them to a concealed seal. Request the installation records and the approved perimeter detail. If the evidence is insufficient, agree the appropriate investigation or testing through the project team, identify the affected windows and record the resulting decision. Do not silently convert an unverified detail into a completed check.
Take this to your next inspection
Inspect and photograph one complete window perimeter before internal trims and linings are installed.