Concrete and reinforcement · 20 MINUTE CPD
Reinforcement Cover: Spacers, Congestion and Pour Readiness
Check the position of reinforcement before concrete conceals it, and understand why a cover dimension must refer to the correct steel and concrete face.

Check the position of reinforcement before concrete conceals it, and understand why a cover dimension must refer to the correct steel and concrete face.
Your 20-minute activity: allow 10 minutes for the article and illustrations, five minutes for the site scenario and five minutes for reflection. Record your actual learning time.
Regulatory references are for England. Use the editions and transition arrangements applicable to the project. Manufacturer examples apply to the named systems. The practical inspection exercises are ACQP teaching applications, not installation instructions.
1. Find the cover requirement on the drawing
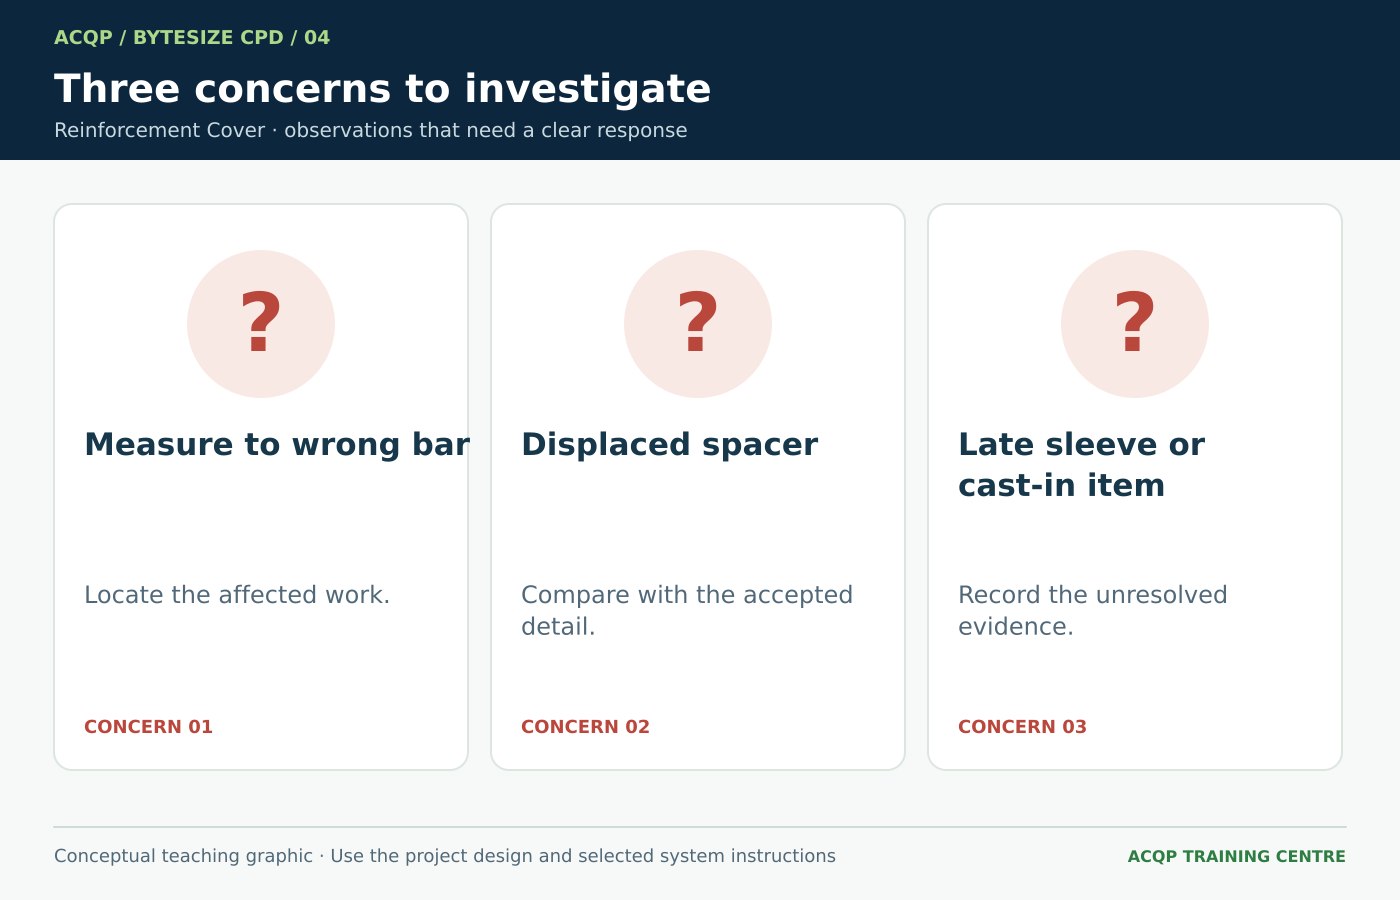
The Concrete Centre explains that nominal cover is specified by the designer and relates to the reinforcement nearest the concrete surface, such as a beam link. Measuring to a main bar while ignoring a link nearer the form face can therefore give a misleading result.
The Concrete Centre: Detailing and nominal cover
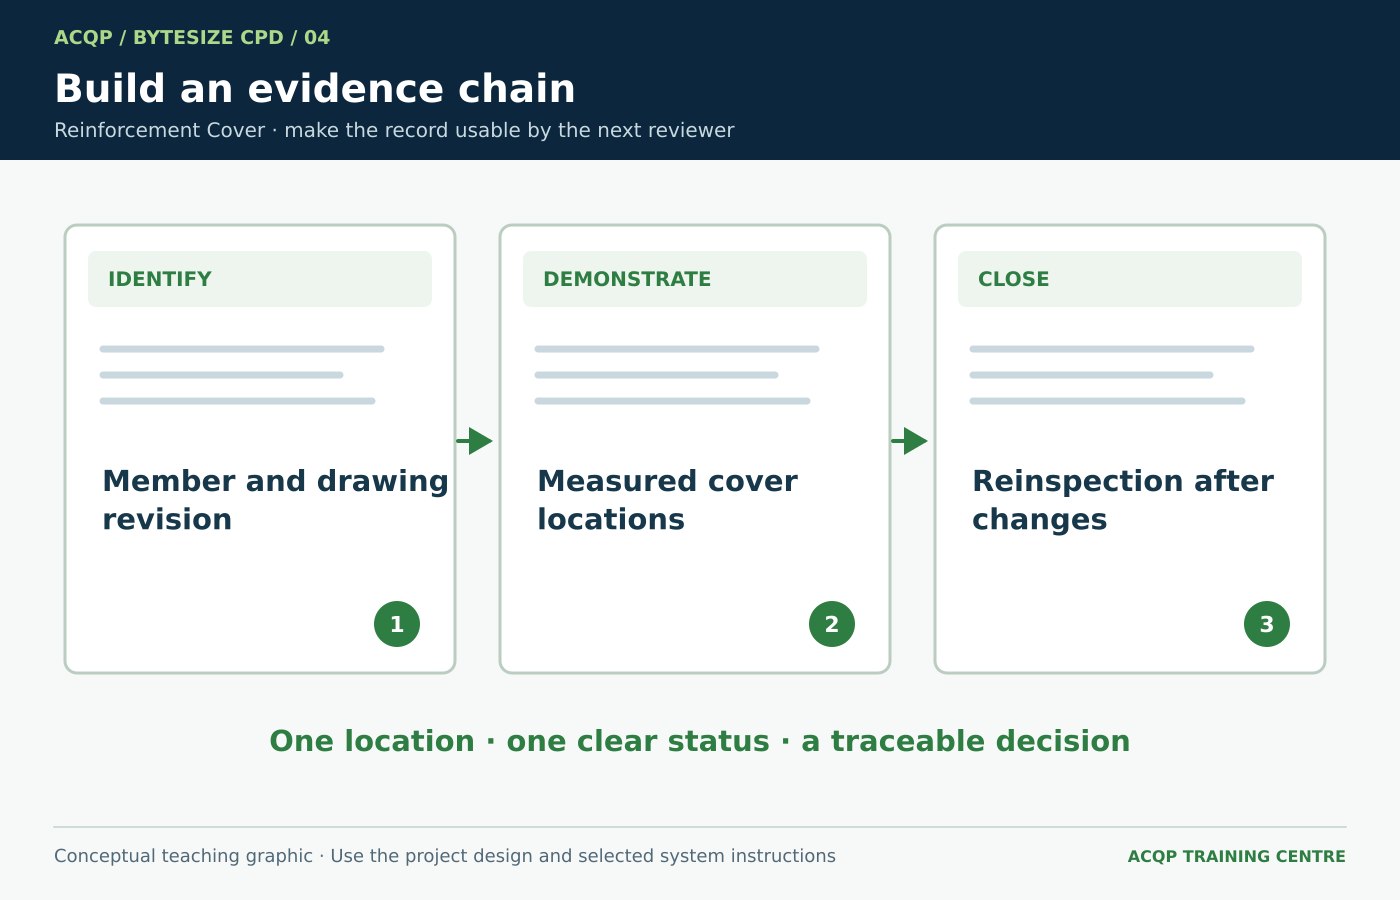
Identify the member, drawing revision and concrete face before taking a measurement. Ask whether different faces have different requirements. Separate the specified nominal cover from the permitted construction deviations. Write the requirement alongside the result so the record can be reviewed without guessing which number was being used. Do not introduce a generic cover value for every member.
2. Check how the steel is held in position
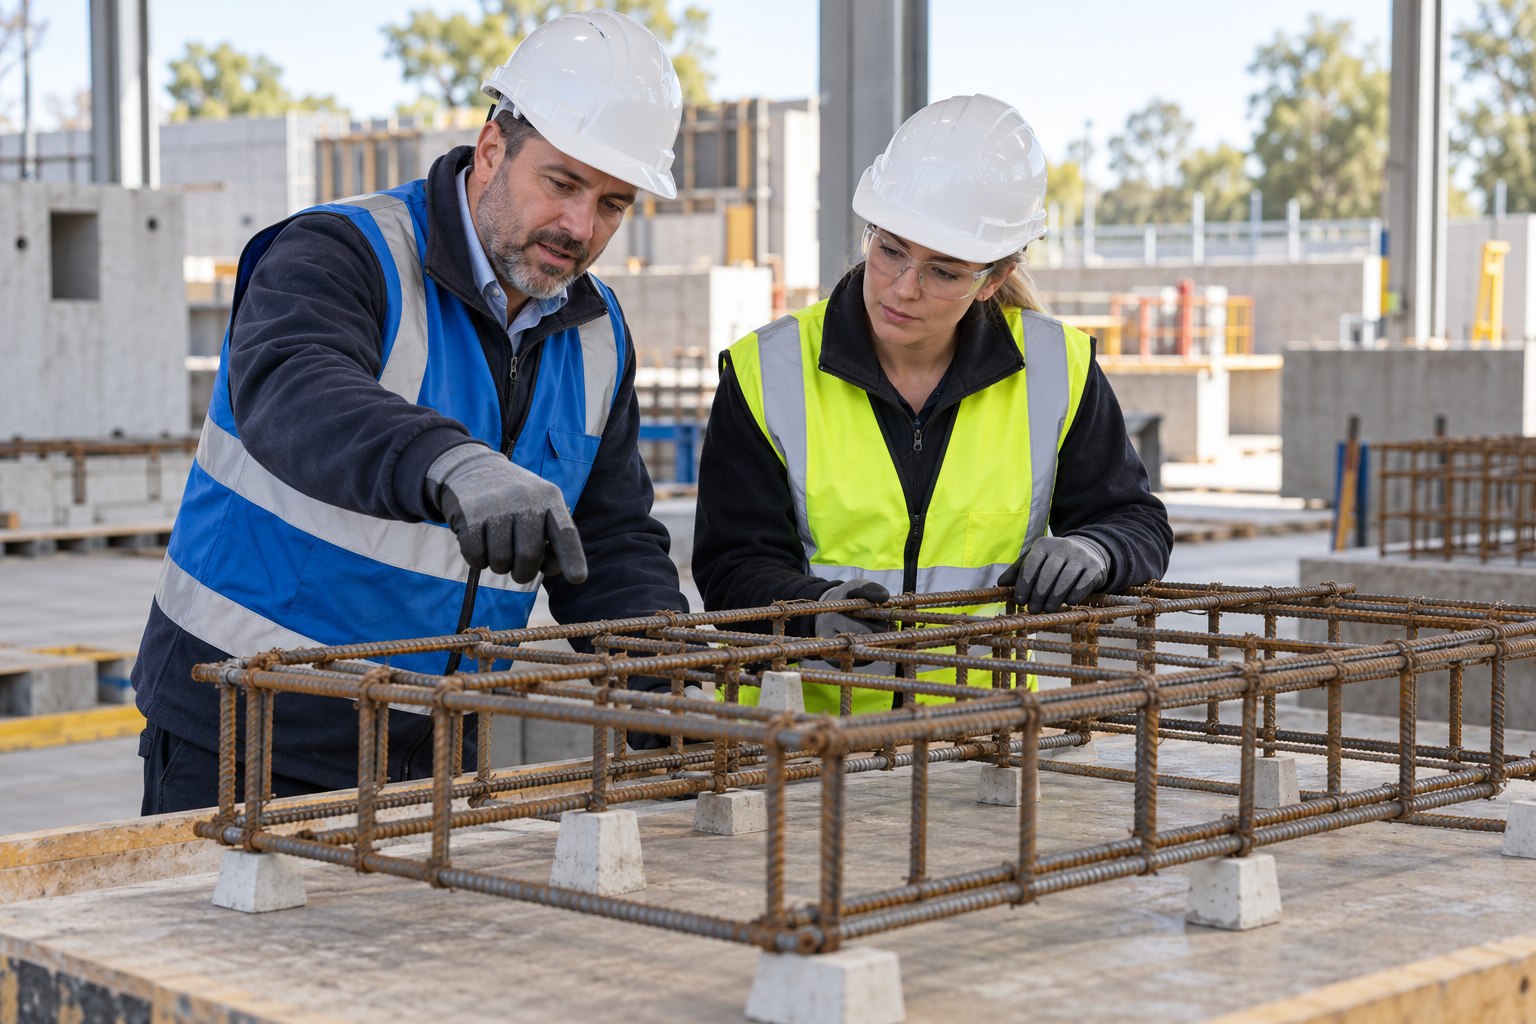
Cover is an installed geometry, not simply a spacer ordered in the correct size. The Concrete Society describes spacers and chairs as the means of maintaining the separation between reinforcement and the form face or other layers. Their suitability and arrangement need to support the intended position.
The Concrete Society: Spacers and visual concrete
Look for displaced, damaged or unstable supports and areas where the cage can move during the planned operation. Ask how access, hoses and construction activity will be managed without disturbing the steel. Record the arrangement before pour release. The inspection is not permission to walk on an unsupported cage or alter the reinforcement; those decisions belong to the planned safe method and responsible specialists.
3. Pay attention to congested locations
Bar laps, intersections, cast-in items and changes in section can make the actual arrangement different from the simple typical detail. The Concrete Centre’s detailing guidance includes spacing and reinforcement arrangements as part of achieving the designed construction.
The Concrete Centre: Detailing and nominal cover
At a congested node, compare the coordinated detail with the installed steel and ask how concrete will be placed and compacted there. Flag a clash rather than instructing an operative to move a bar, cut a link or remove a support. Photograph the location clearly and include the member reference. An agreed design response should identify the specific change and any further checks needed.
4. Treat late changes as new information
A cage may have been inspected correctly and then disturbed by another activity. A later penetration, cast-in plate, access arrangement or formwork adjustment can change the condition that supported the original release.
Agree who will report changes between inspection and placement. If work has altered the member, identify the affected checks and revisit them before relying on the earlier record. Keep the sequence visible: original observation, change, technical decision and reinspection. A signed sheet is evidence of a review at a point in time; it is not a guarantee that the work stayed unchanged afterwards.
5. Make the pour boundary unambiguous
A useful release identifies the concrete pour or member being accepted and any exclusions. “Ground floor steel checked” is difficult to interpret where one bay remains unresolved or work continues after the inspection.
Record measured locations, drawing references, photographs, outstanding items and the person authorised to release the next stage. If an item cannot be resolved, record the agreed affected boundary and status. After the pour, retain the pre-pour evidence alongside the delivery and placement records. Avoid silently deleting an outstanding observation when a later task is completed.
Site scenario
A beam cage was inspected yesterday. This morning, a cast-in service sleeve has been added near a congested support, and two spacer blocks have moved. The concrete wagon is booked to arrive shortly.
Pause and consider: Which parts of yesterday’s inspection can still be relied on, and what needs review before the affected pour is released?
Suggested response: Identify the changed location and compare it with the coordinated design. Recheck the affected steel position and support arrangement, and obtain an authorised response to any sleeve conflict. Record the reinspection and pour boundary. Delivery pressure does not turn the earlier record into evidence for a later, altered condition.
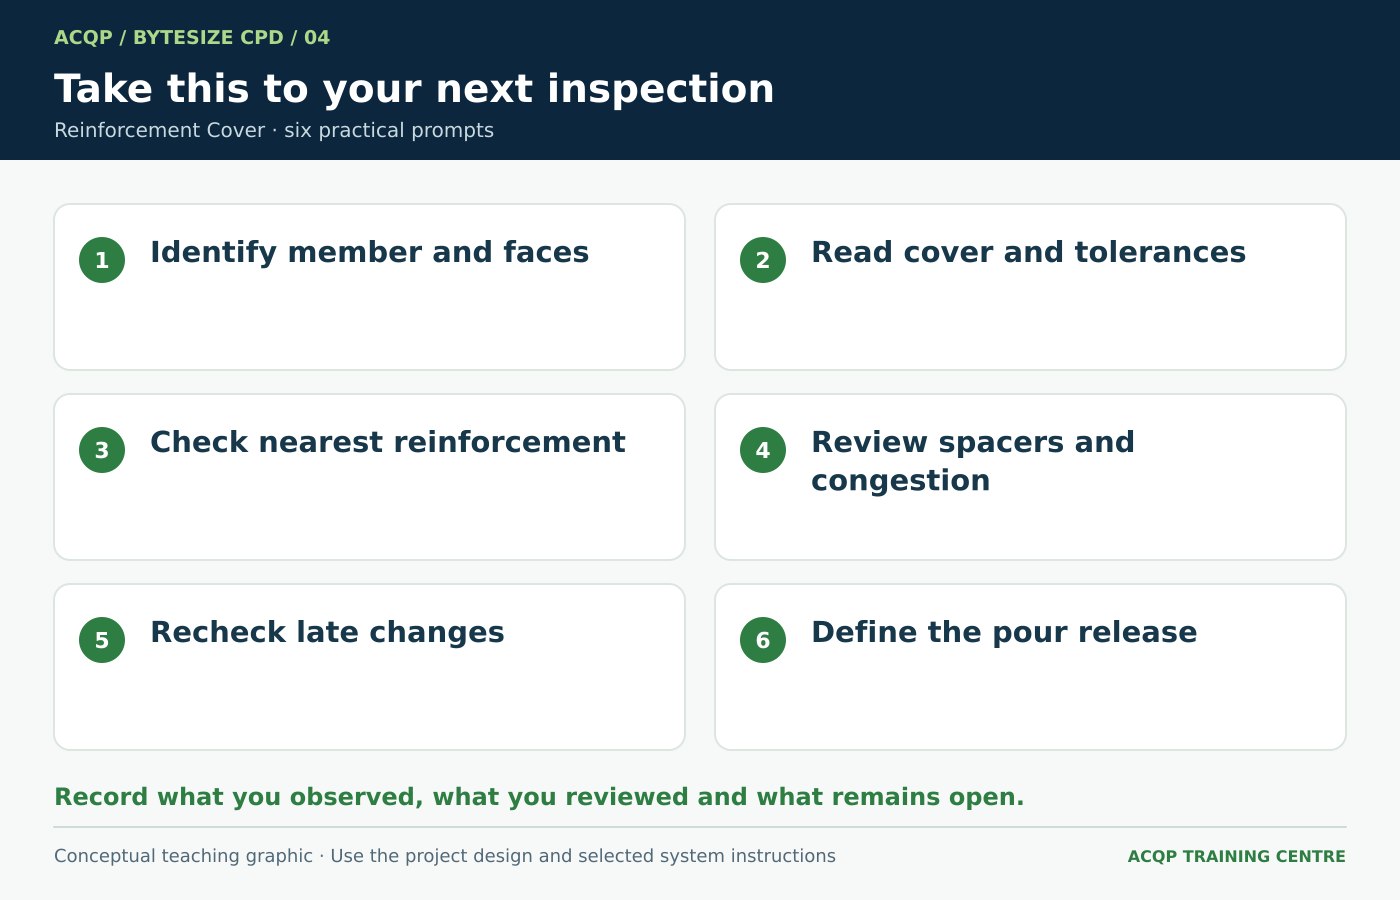
Take this to your next inspection
Check and record cover at one congested location, including the steel nearest the concrete face.