Masonry and structural quality · 20 MINUTE CPD
Wall Ties: Identity, Embedment and Cavity Changes
A tie can be present without being correctly selected or embedded. Learn how to connect the specified product to the actual cavity and the work concealed in each leaf.


A tie can be present without being correctly selected or embedded. Learn how to connect the specified product to the actual cavity and the work concealed in each leaf.
Your 20-minute activity: allow 10 minutes for the article and illustrations, five minutes for the site scenario and five minutes for reflection. Record your actual learning time.
Regulatory references are for England. Use the editions and transition arrangements applicable to the project. Manufacturer examples apply to the named systems. The practical inspection exercises are ACQP teaching applications, not installation instructions.
1. Confirm what has been specified
Ancon explains that wall ties are structural fixings and that inadequate embedment can compromise masonry stability. Its guidance asks contractors to verify the specified type and length before construction. Similar appearance is not a reliable basis for substituting a tie.
Leviat / Ancon: Ensuring sufficient wall tie embedment
Start your record with the elevation, storey and wall type. Compare the product label with the current specification, then ask whether the detail changes around openings, movement joints or different supporting materials. If the design uses a channel or another proprietary restraint system, retrieve that system’s detail. Do not apply a masonry-to-masonry assumption to a different connection.
2. Measure the cavity that actually exists
For a given tie length, increasing the cavity width leaves less length available for embedment. Pushing a symmetrical tie farther into one leaf can also reduce embedment in the other. Ancon emphasises centring and maintaining the designed cavity width; its numerical recommendations are specific to the ties and guidance discussed.
Leviat / Ancon: Ensuring sufficient wall tie embedment
Record the measured cavity at the inspection location and compare it with the permitted range for the selected product. Keep the designed embedment and the allowable site tolerance separate. Avoid a single remembered dimension for every tie. Where the cavity changes around a column or return, make that location a separate check rather than assuming the typical bay measurement covers it.
3. Check the selected installation arrangement
Leviat’s Ancon installation guides show product-specific tie arrangements, including embedment and orientation. Drip features and retention components need to be interpreted using the guide for the supplied tie. An unfamiliar shape should trigger identification, not improvisation.
Leviat / Ancon: Cavity wall ties installation guide, May 2026
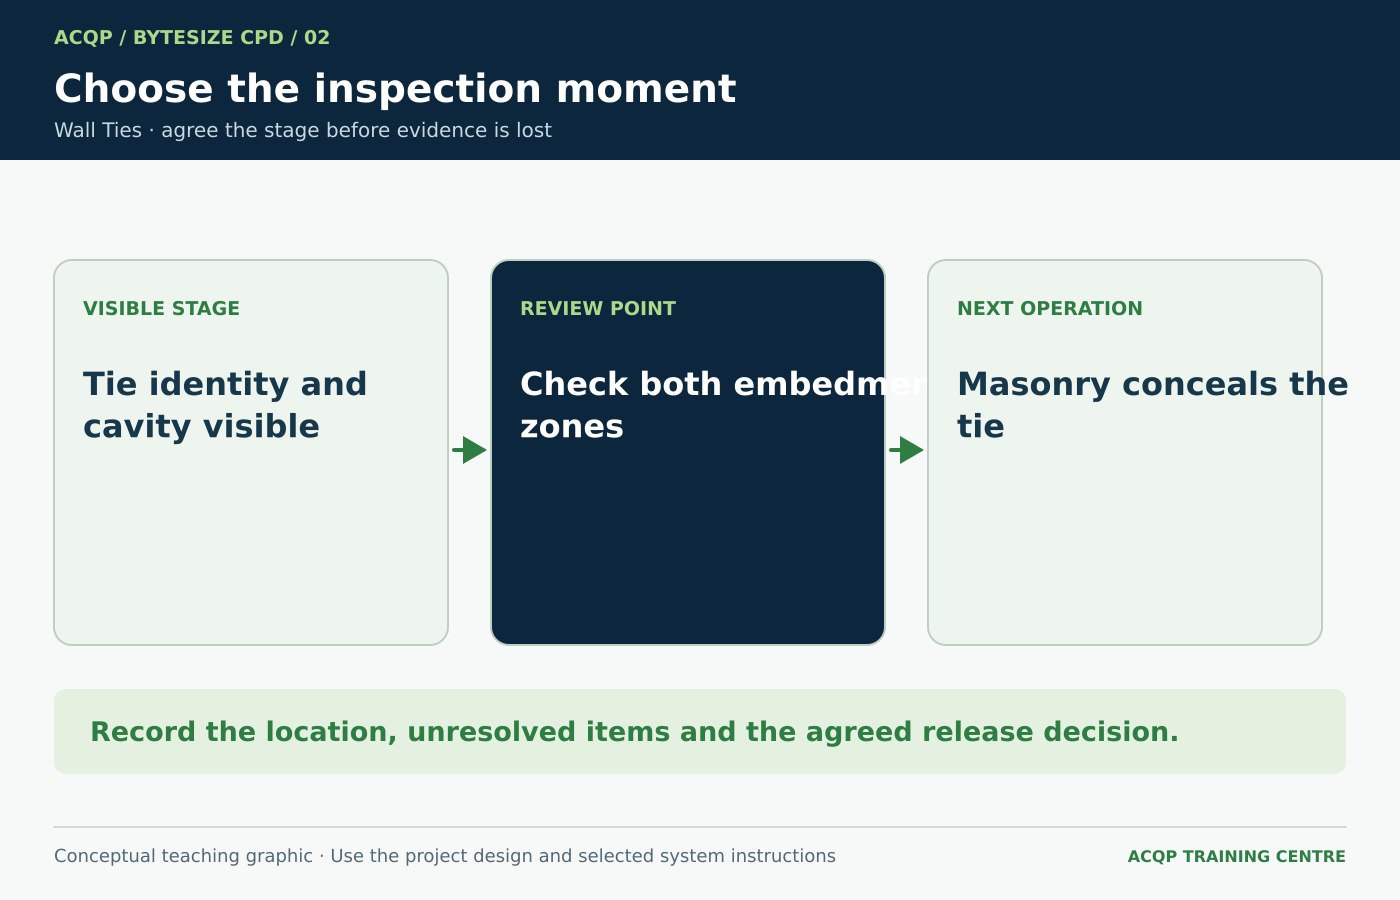
At the work face, ask the installer to show the product information being used. Compare a loose identified sample with the installed component. Capture evidence before the mortar joint and next lift prevent inspection. Record any bent, altered or damaged item for technical review; the inspection is not an instruction to straighten, cut or rework structural components on site.
4. Look beyond a single acceptable sample
One correctly installed tie demonstrates the condition at that observed position. It does not establish the condition of every tie on a long elevation. A useful inspection record states the locations and stages actually checked.
Plan observations around changes of wall type, working gang, material delivery and cavity geometry. If an issue is found, ask where the same product or method was used and record the proposed extent of review. Distinguish the suspected area from the area proven to be affected. Keep unverified work visible in the record so it cannot disappear inside an overall completion percentage.
5. Resolve substitutions and missing evidence
A verbal assurance that a different tie is “stronger” does not answer every design question. Product identity, geometry and the connection arrangement all need to match the approved technical response.
Raise a concise query with the tie label, wall detail, photographs and measured cavity. Ask the responsible designer or specialist to define the accepted action and any additional investigation. Retain the response against the affected locations, then record the implementation and reinspection. An invoice for replacement ties only shows procurement; it does not show where the original installation was corrected.
Site scenario
A cavity widens beside a concrete column. The bricklayer continues using the same tie length as the typical bay, and some ties have been pushed well into the inner leaf to keep them steady. The outer leaf is about to be built.
Pause and consider: Which measurements and product information would you request before that location is concealed?
Suggested response: Identify the tie and the local design detail, measure the actual cavity, and check the embedment available in both leaves against the selected system’s requirements. Record the column bay separately. If the arrangement falls outside those requirements, obtain a designer or manufacturer-supported response and define whether neighbouring bays need review before continuing that affected work.
Take this to your next inspection
Pair one tie inspection photograph with the product label and the cavity measurement at that location.