Internal finishes · 15 MINUTE CPD
Wet-Room Waterproofing: Check Beneath the Tiles
Inspect the waterproofing system before the finish hides it. Focus on substrate readiness, corners, penetrations, drain connections and protecting completed work.


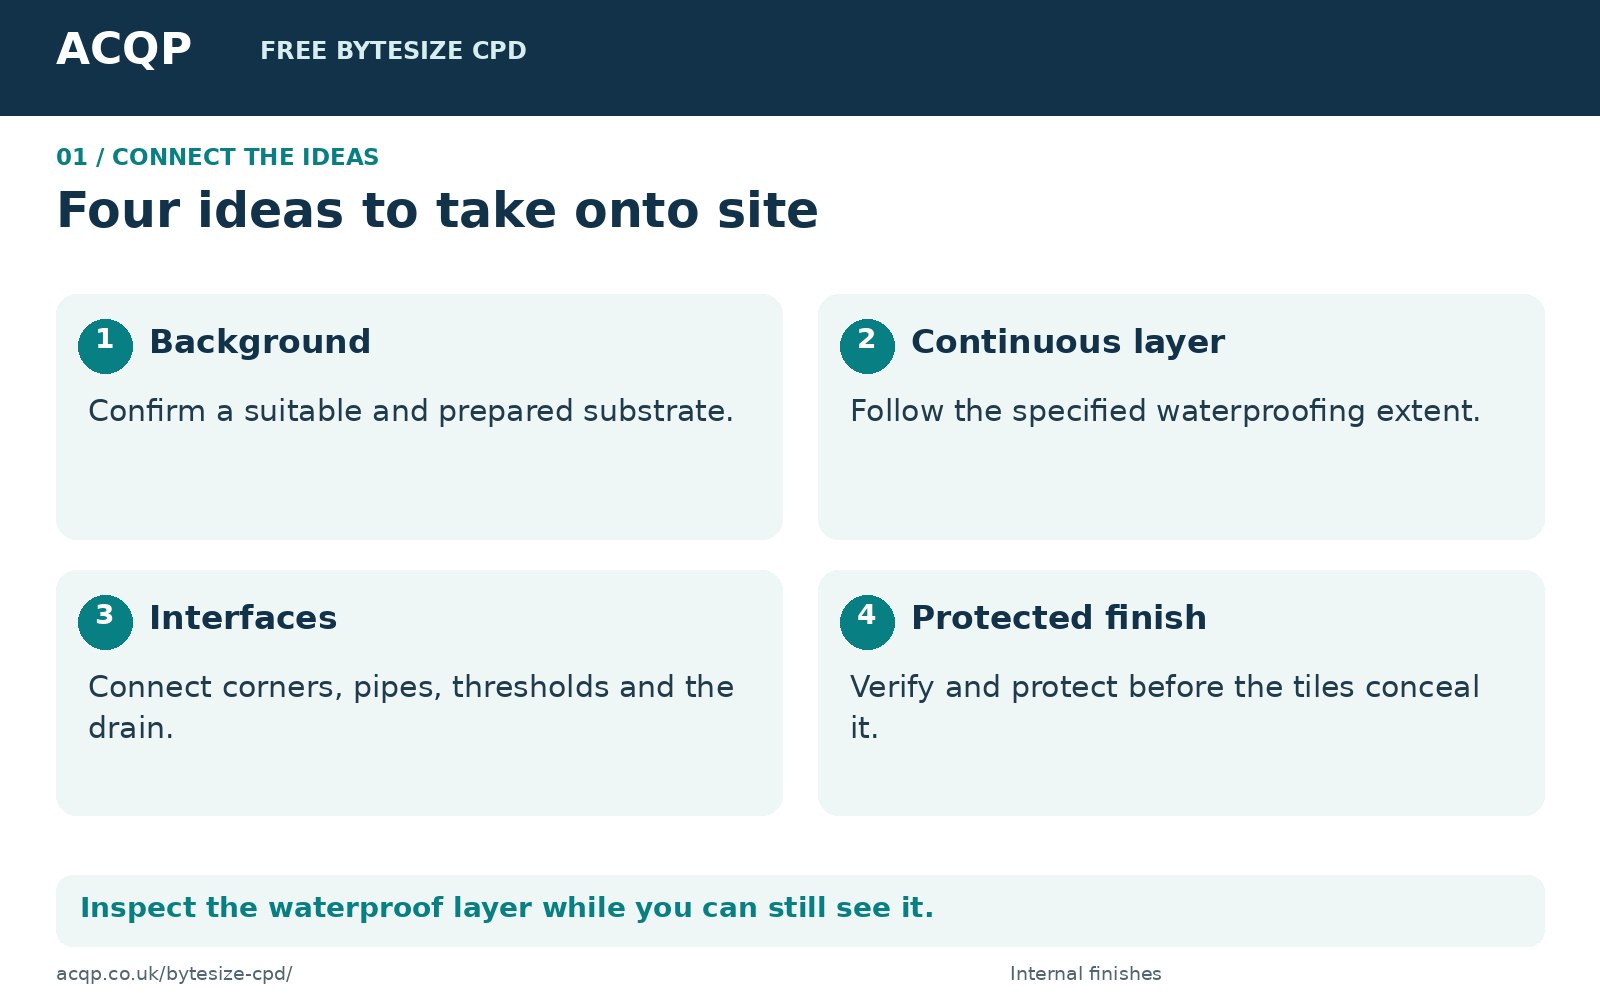
Inspect the waterproof layer while you can still see it.
Your 15-minute activity: allow eight minutes to study the article, supporting graphics and relevant linked guidance, four minutes for the scenario and self-check, and three minutes for reflection. Record the time you actually spend. Use the project design, applicable requirements and competent specialists for technical decisions.
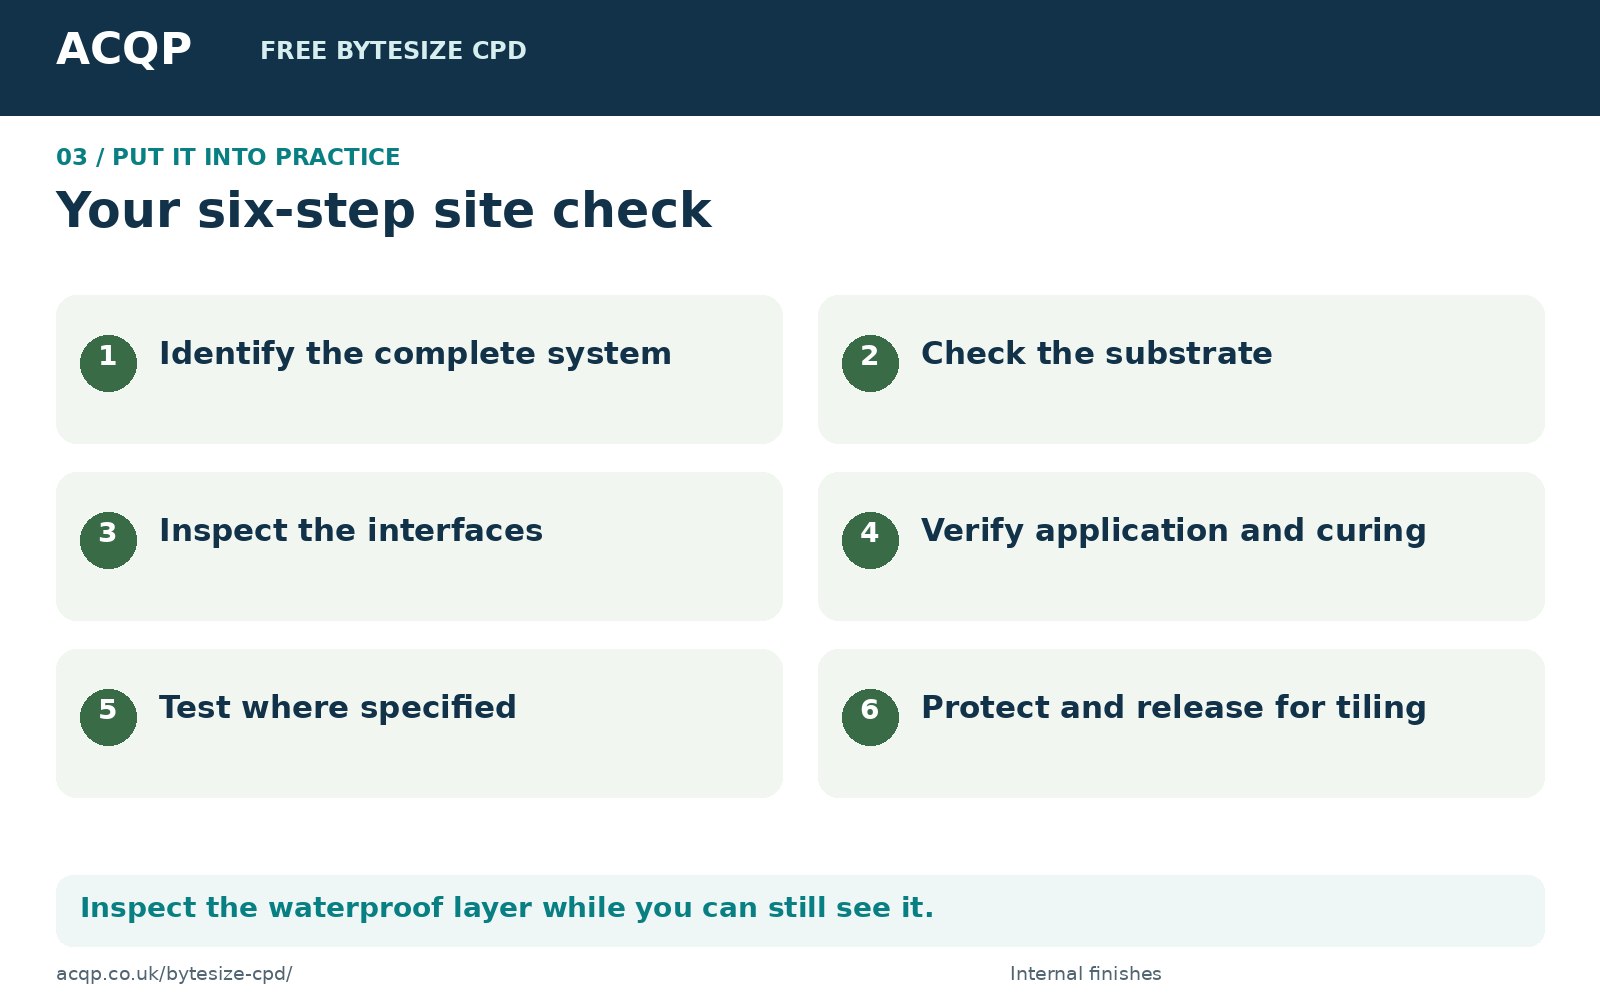
1. Identify the layer that stops water
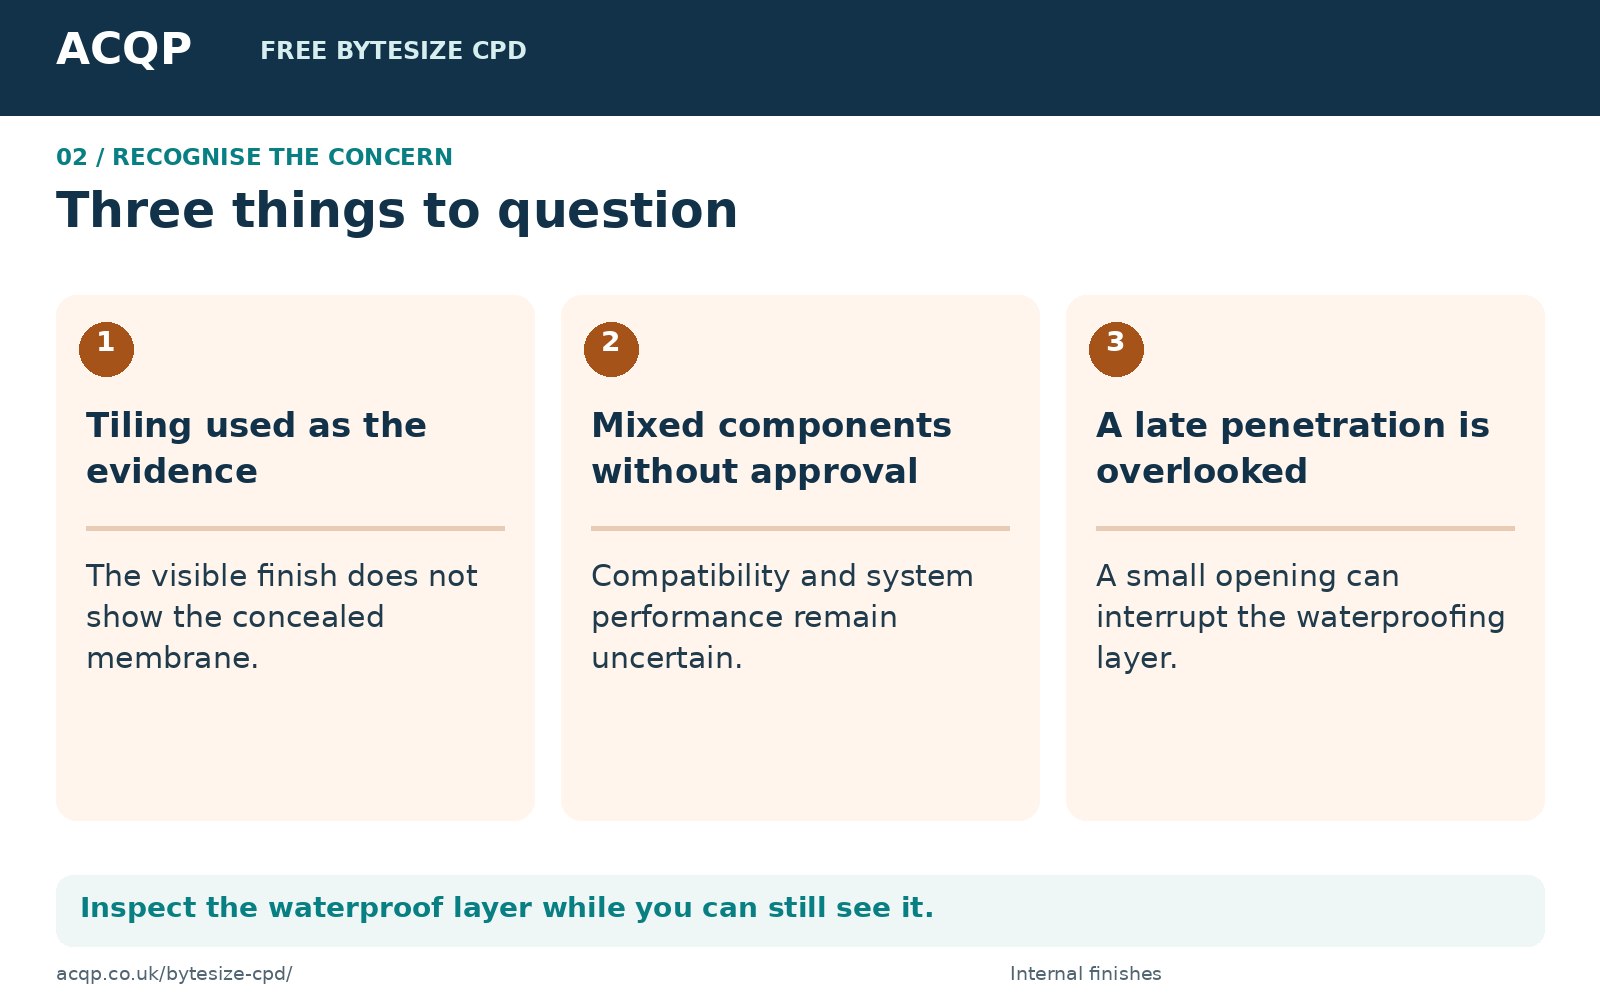
A tiled surface can look complete while moisture reaches the background. ARDEX explains that cementitious grout joints and adhesive bedding can transmit moisture to sensitive substrates. The waterproofing arrangement therefore needs to be identified separately from the decorative finish.
Find the specified system and its intended extent on the room drawings. Establish which walls, floor areas, thresholds, penetrations and drainage interfaces are included. A product described as water resistant is not, by that description alone, evidence that the complete room is waterproof.
2. Check the background before application
Review the selected waterproofing manufacturer's requirements for substrate type, rigidity, cleanliness, moisture condition and preparation. Check joints, fixings and changes in material against the detail. A coating cannot be expected to correct every unstable or unsuitable background.
Confirm the primer, membrane, tapes, corners, collars and adhesive are compatible within the approved arrangement. Manufacturer examples have their own application methods and curing times. Do not transfer one product's number of coats, coverage or waiting time to another system. Keep the relevant instructions with the room inspection record.
3. Give interfaces an inspection point
Follow the route that water could take: wall-to-floor junctions, internal corners, pipe penetrations, niches, thresholds and the connection to the drain. Confirm each connection is detailed, accessible and installed in the correct sequence. A drain placed at the right level still needs the specified waterproofing connection.
Inspect while the layer is visible. Record the room number, products, batch information where relevant, application stages and checks required by the manufacturer. For liquid systems, use the specified method to verify coverage or thickness where required. A uniform colour is not a measurement. Refer missing collars, damaged corners or uncertain compatibility for an authorised solution.
4. Release, test where required, and protect
Where the project or system requires a water test, agree its method, timing, duration, loading implications and acceptance criteria before carrying it out. Testing must not damage immature work or introduce water into an unsuitable structure. A short splash from a hose is not a substitute for an agreed verification process.
Before tiling, confirm the required inspections are complete and identify any restrictions. Protect the membrane from feet, sharp tools and later fixings. If a following trade penetrates or damages it, obtain the system-specific repair and reinspection before the area is hidden. Retain the evidence with the room record so the final finish is supported by a traceable account of the concealed work.
Site scenario: pause and decide
A shower room is ready for tiling. The waterproofing looks tidy, but a pipe was moved yesterday and there is an unrecorded opening beside the new position. The tiler suggests filling it with the silicone used around the finished shower tray. What should happen before tiling?
Before reading on: write down what you would check, who you would contact and what evidence would be needed.
Suggested response: Pause covering of the affected area. Identify the waterproofing system and obtain its authorised penetration and repair detail. Confirm compatibility, substrate preparation and any curing or retesting requirements. Record the repair and reinspection before releasing the finish. Do not assume a finishing sealant provides the required membrane connection.
Check your understanding
Can a neat tiled finish prove concealed tanking is complete?
No. The waterproofing needs its own inspection and evidence before it is covered.
Are all liquid membranes applied with the same number of coats?
No. The selected system instructions determine the application and verification requirements.
Take this to your next inspection
Inspect the waterproof layer while you can still see it.
References and further reading
Sources checked 23 September 2026. Follow the current applicable project documents and selected product instructions. Approved Documents referenced here apply to England; other UK nations have their own guidance.