Site inspection · 15 MINUTE CPD
Defect Reporting: From Observation to Verified Closure
Write defect reports that lead to clear action. Learn to identify locations and requirements, capture useful photographs, assign a response and verify the evidence before closing an issue.


A defect report is useful when someone can locate the concern, understand the requirement and verify the result. “Poor workmanship - rectify” rarely achieves this. This CPD introduces a practical reporting method that connects an observation to an accountable action and evidence of closure.
Your 15-minute activity: allow 10 minutes for reading and the three diagrams, three minutes for the scenario and two minutes for reflection. The workflow is a suggested quality-management aid. Use the contractual procedures, responsibilities and terminology agreed for your project.
1. Describe what you can establish
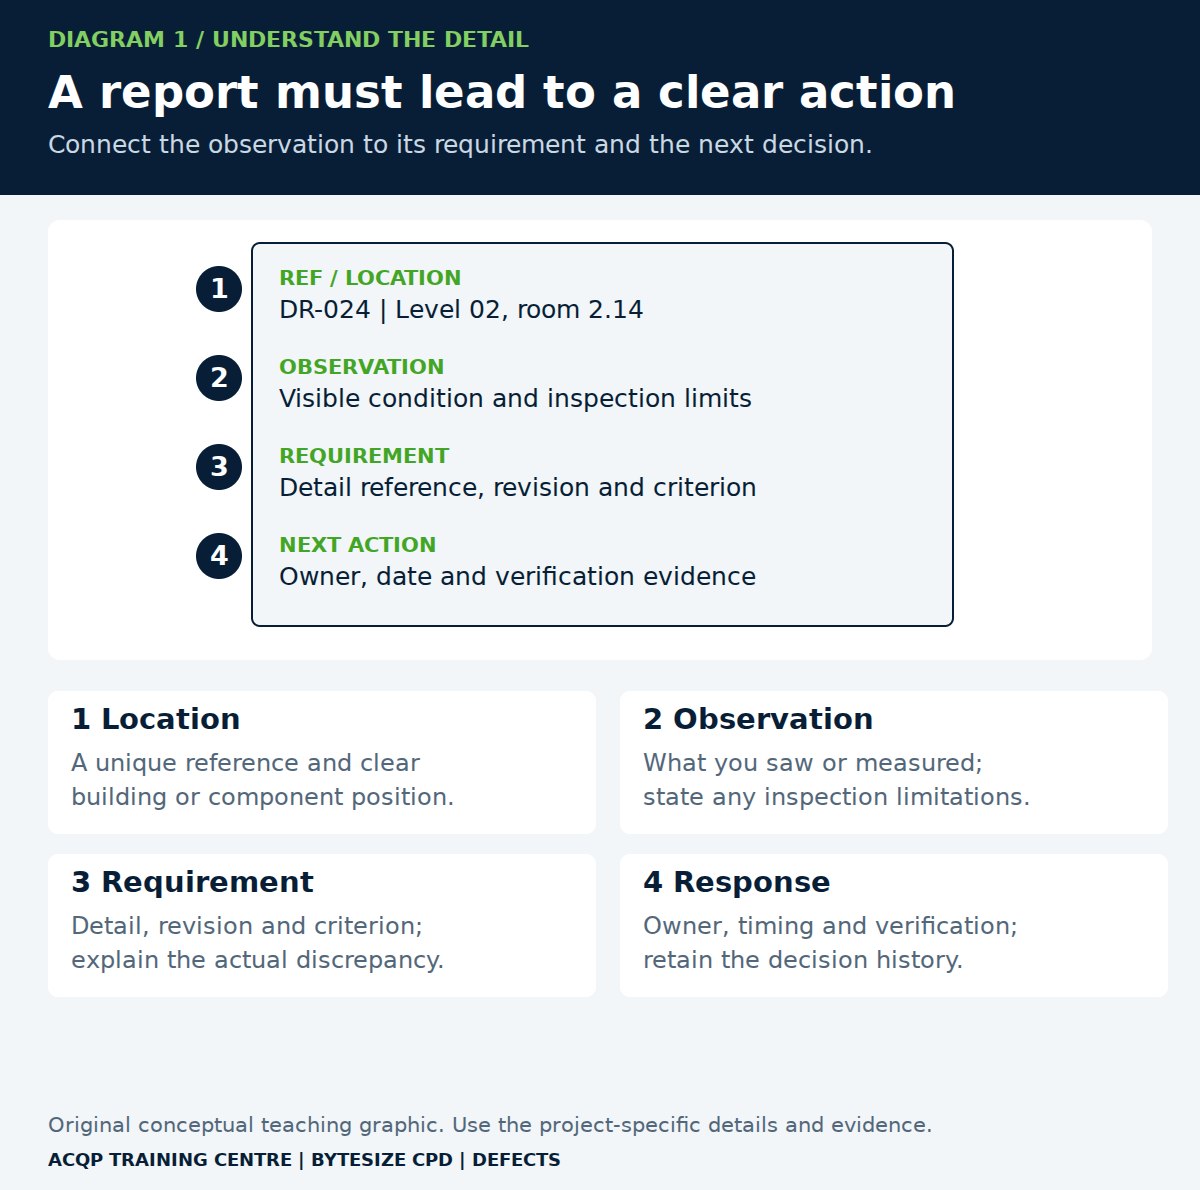
Begin with a precise location and a factual observation. Identify the building, floor, room, elevation, grid or component reference that will allow another person to find it. Add the date, inspection stage and relevant work package.
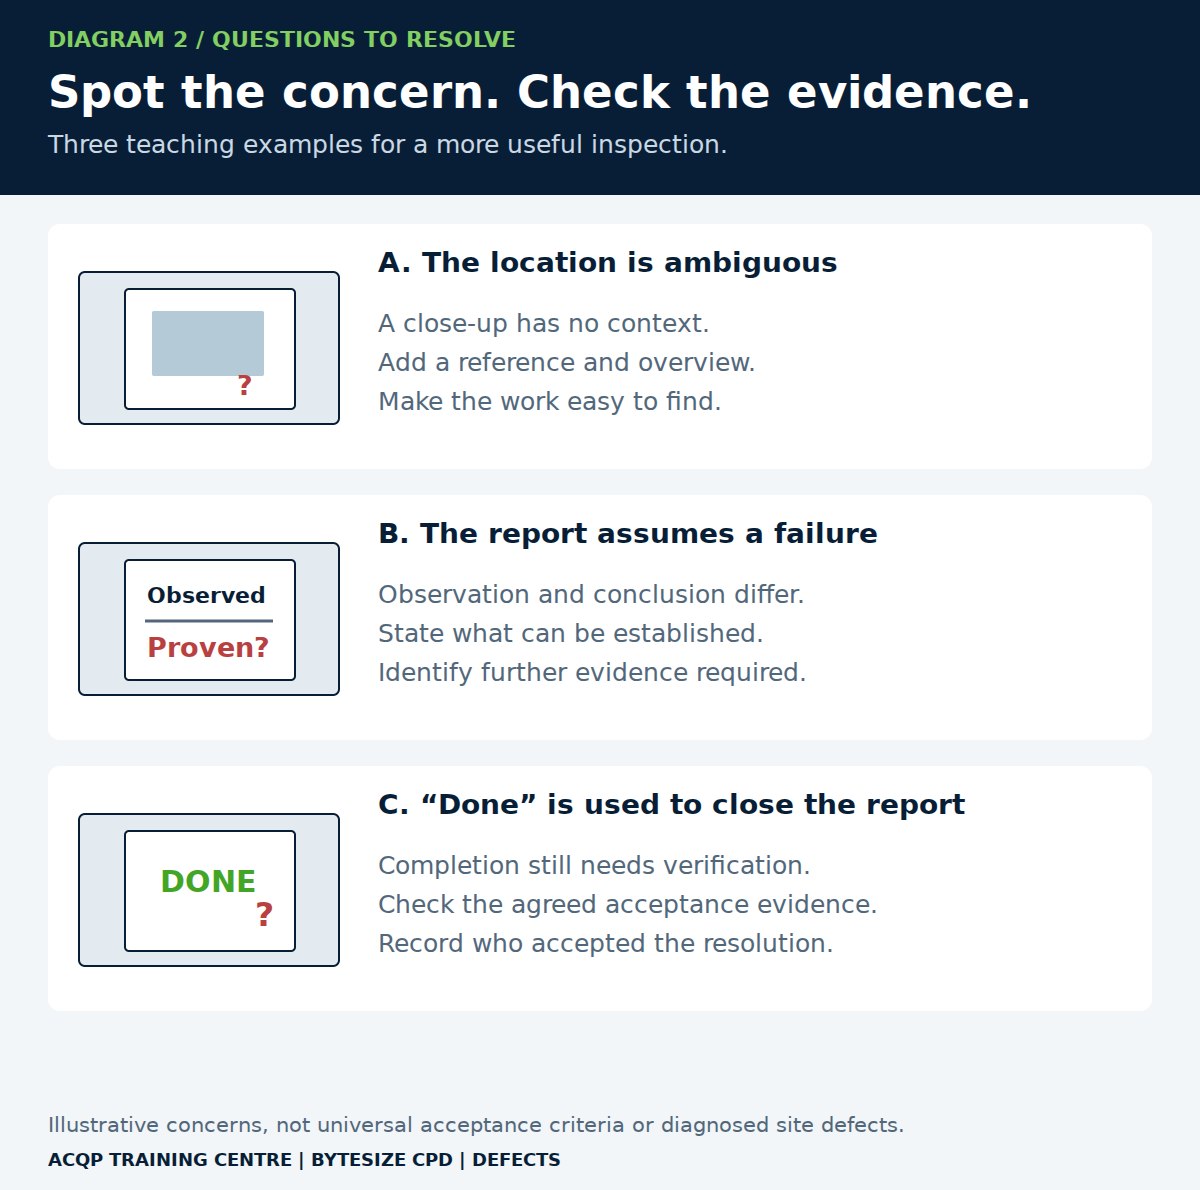
Separate observation from interpretation. “The visible board edge has no support at this location” is different from “the wall has failed its fire rating”. The second statement requires evidence you may not have. Where compliance is uncertain, identify the information needed rather than inventing a conclusion.
Use a unique report reference and preserve the original observation. If the understanding changes, add a dated update so the decision history remains clear.
2. Connect the concern to a requirement
Identify the drawing revision, specification clause, accepted sample, manufacturer instruction or other applicable criterion. Quote only the short part needed and explain the discrepancy in your own words. If the relevant detail is missing or contradictory, raise that as an information issue and identify who must resolve it.
Approved Document 7 provides the general England context for suitable materials and workmanship. It is not a substitute for finding the specific criterion needed to judge a particular installation. Approved Document 7: workmanship context
Diagram 1 illustrates a reporting structure. A photograph and a red circle may identify a symptom, but they do not explain the acceptance requirement or the action expected.
3. Prioritise and assign the response
Use the project's agreed categories to distinguish immediate safety concerns, work requiring a hold before concealment and routine defects. Do not leave a potential immediate hazard waiting in a weekly snagging report; follow the site's escalation and emergency arrangements as appropriate.
- State why the issue matters and what may be affected.
- Identify the responsible action owner and a response date.
- Record whether access or the next work stage must be retained.
- Specify whether a design decision, method or specialist assessment is needed.
- Identify the person authorised to accept the resolution or release a hold.
A quality inspector should not improvise a technical repair outside their authority. Under England's dutyholder arrangements, designers and contractors retain their responsibilities for compliant design and work. Clear reporting helps them act; it does not transfer those duties to the person taking photographs. BSR: design and building-work duties
4. Make photographs answer a question
Use an overview to establish location, a contextual view to identify the component and a close view to show the concern. Include a scale where a dimension matters, without obscuring the feature. Record the actual measurement and method when required; a photograph of a ruler at an angle may not be sufficient.
Keep captions specific: report reference, location, date, work stage and what the image demonstrates. Store original images through the agreed project system. Avoid unnecessary personal information, faces or unrelated documents in the record.
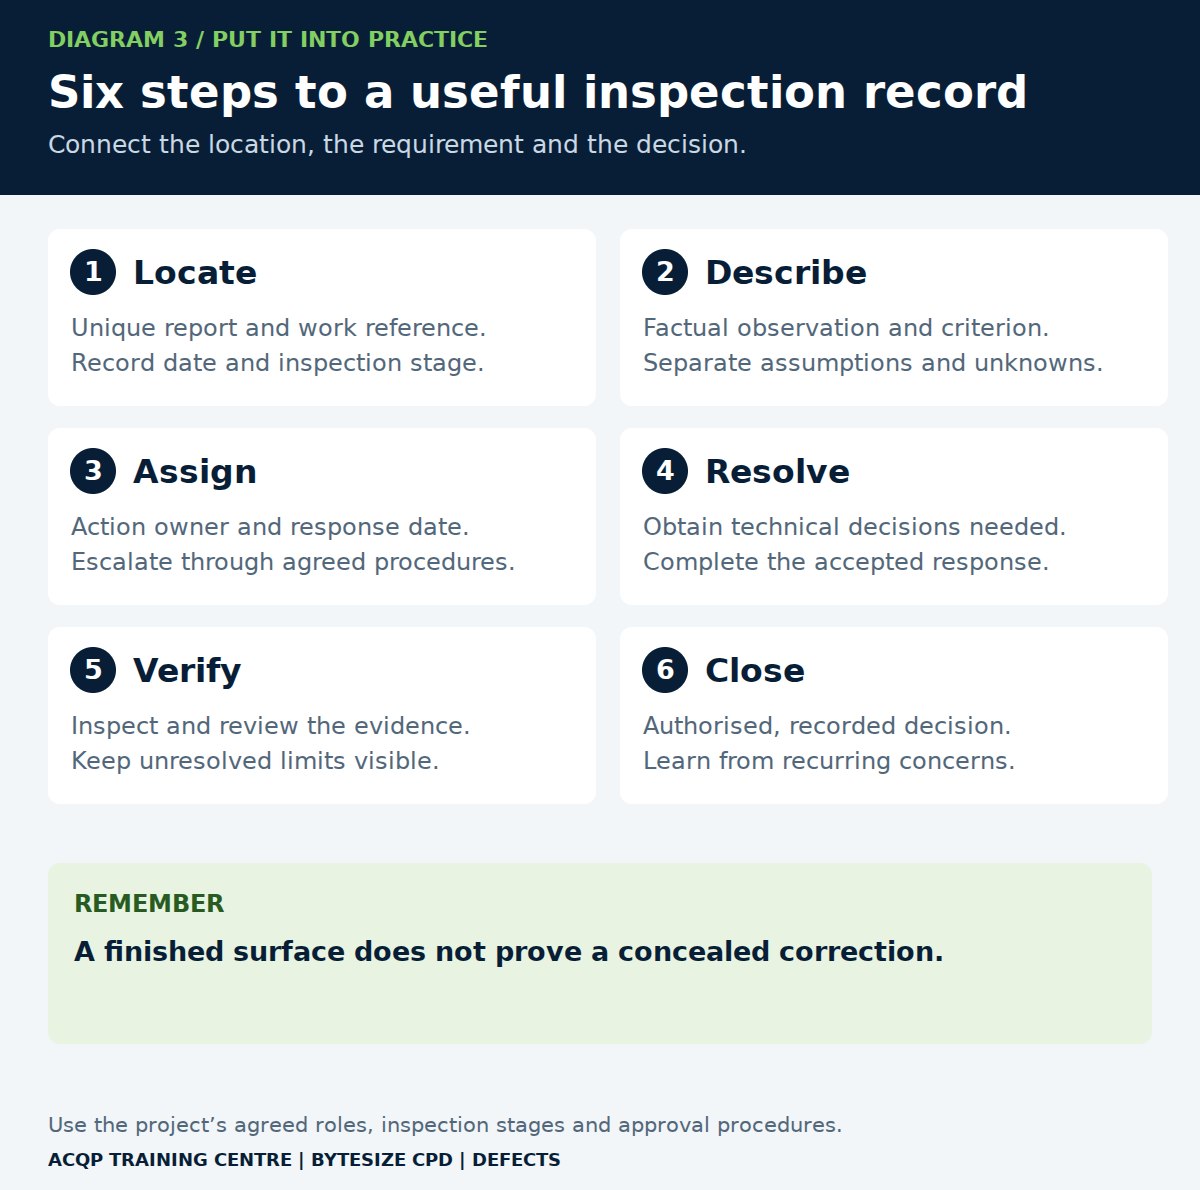
For hidden work, agree in advance which evidence must be captured before closing up. A photograph taken afterwards can show the final surface, but it cannot reconstruct every component underneath.
5. Distinguish completion from verified closure
The action owner's message that work is complete is a request for checking. Compare the proposed and completed resolution with the requirement. Confirm that required technical decisions were obtained, inspect the correction at the appropriate stage and review relevant records or tests.
Record the verifier, date, evidence and basis for the decision. If access is inadequate or a test is outstanding, keep that limitation visible. Do not use “closed” to hide a remaining question or treat an authorised concession as though the original work met the original requirement.
Where a design change is the proposed resolution, follow the project's change and approval procedures. A status change in a defect register does not itself approve a design change or satisfy a separate building-control requirement.
6. Learn from repeated issues
Look beyond the number of reports closed. Compare repeated issues by location, detail, trade and work stage. A recurring problem may point to unclear information, unsuitable sequencing, product substitutions or a missing inspection stage.
For an original team exercise, review three recent closed reports. Could someone unfamiliar with the work understand the initial concern, the accepted response and how it was verified? Use gaps in those records to improve the next briefing and inspection plan.
Site scenario: a photograph marked “done”
Your report identifies a missing component before a wall is closed. The contractor returns a photograph of the newly finished wall with the comment “done”. The original drawing reference is still current, but there is no image or inspection record of the concealed correction.
Pause for three minutes: What does the new photograph establish? What would justify closure?
Suggested response: the photograph establishes the surface condition, not the hidden correction. Ask for the location-specific evidence and technical information required by the inspection plan. Arrange suitable further verification where necessary, with the responsible team determining safe access or opening-up requirements. Keep the report pending verification until an authorised decision can be supported. Do not fabricate an inspection that did not occur.
Take this to your next report
Before issuing it, ask: can the recipient find the work, understand the requirement, know the action owner and see what evidence will close the issue? If any answer is unclear, improve the report now.